RC Airplanes for Beginners: How to Choose Your First Model Aircraft
Are you about to buy your first remote-controlled airplane and don't know where to start? High-wing trainer, electric or glow, RTF/PNP/ARF/BNF acronyms, materials, radio, brushless motor and LiPo: this guide will help you make the right choice, up to the first flight and adjustments of center of gravity and trim, avoiding common mistakes.
Buying your first remote-controlled airplane is an exciting moment, but also full of doubts: between mysterious acronyms, different materials, and radios with a variable number of channels, it's easy to feel lost. The good news is that choosing your first model aircraft follows fairly precise rules. Choosing the wrong model almost always means crashing on the first flight and losing the desire to continue; choosing well, on the other hand, means learning to fly in a few sessions and truly having fun. In this guide, we'll go step-by-step through what to look for, from wing configuration to first flight adjustments.
The most common mistake for a beginner is falling in love with a fast warbird or an acrobatic 3D seen in a video: beautiful, but unmanageable without experience. The first airplane must forgive mistakes, fly slowly, and straighten itself out when you release the sticks. Everything else comes later.

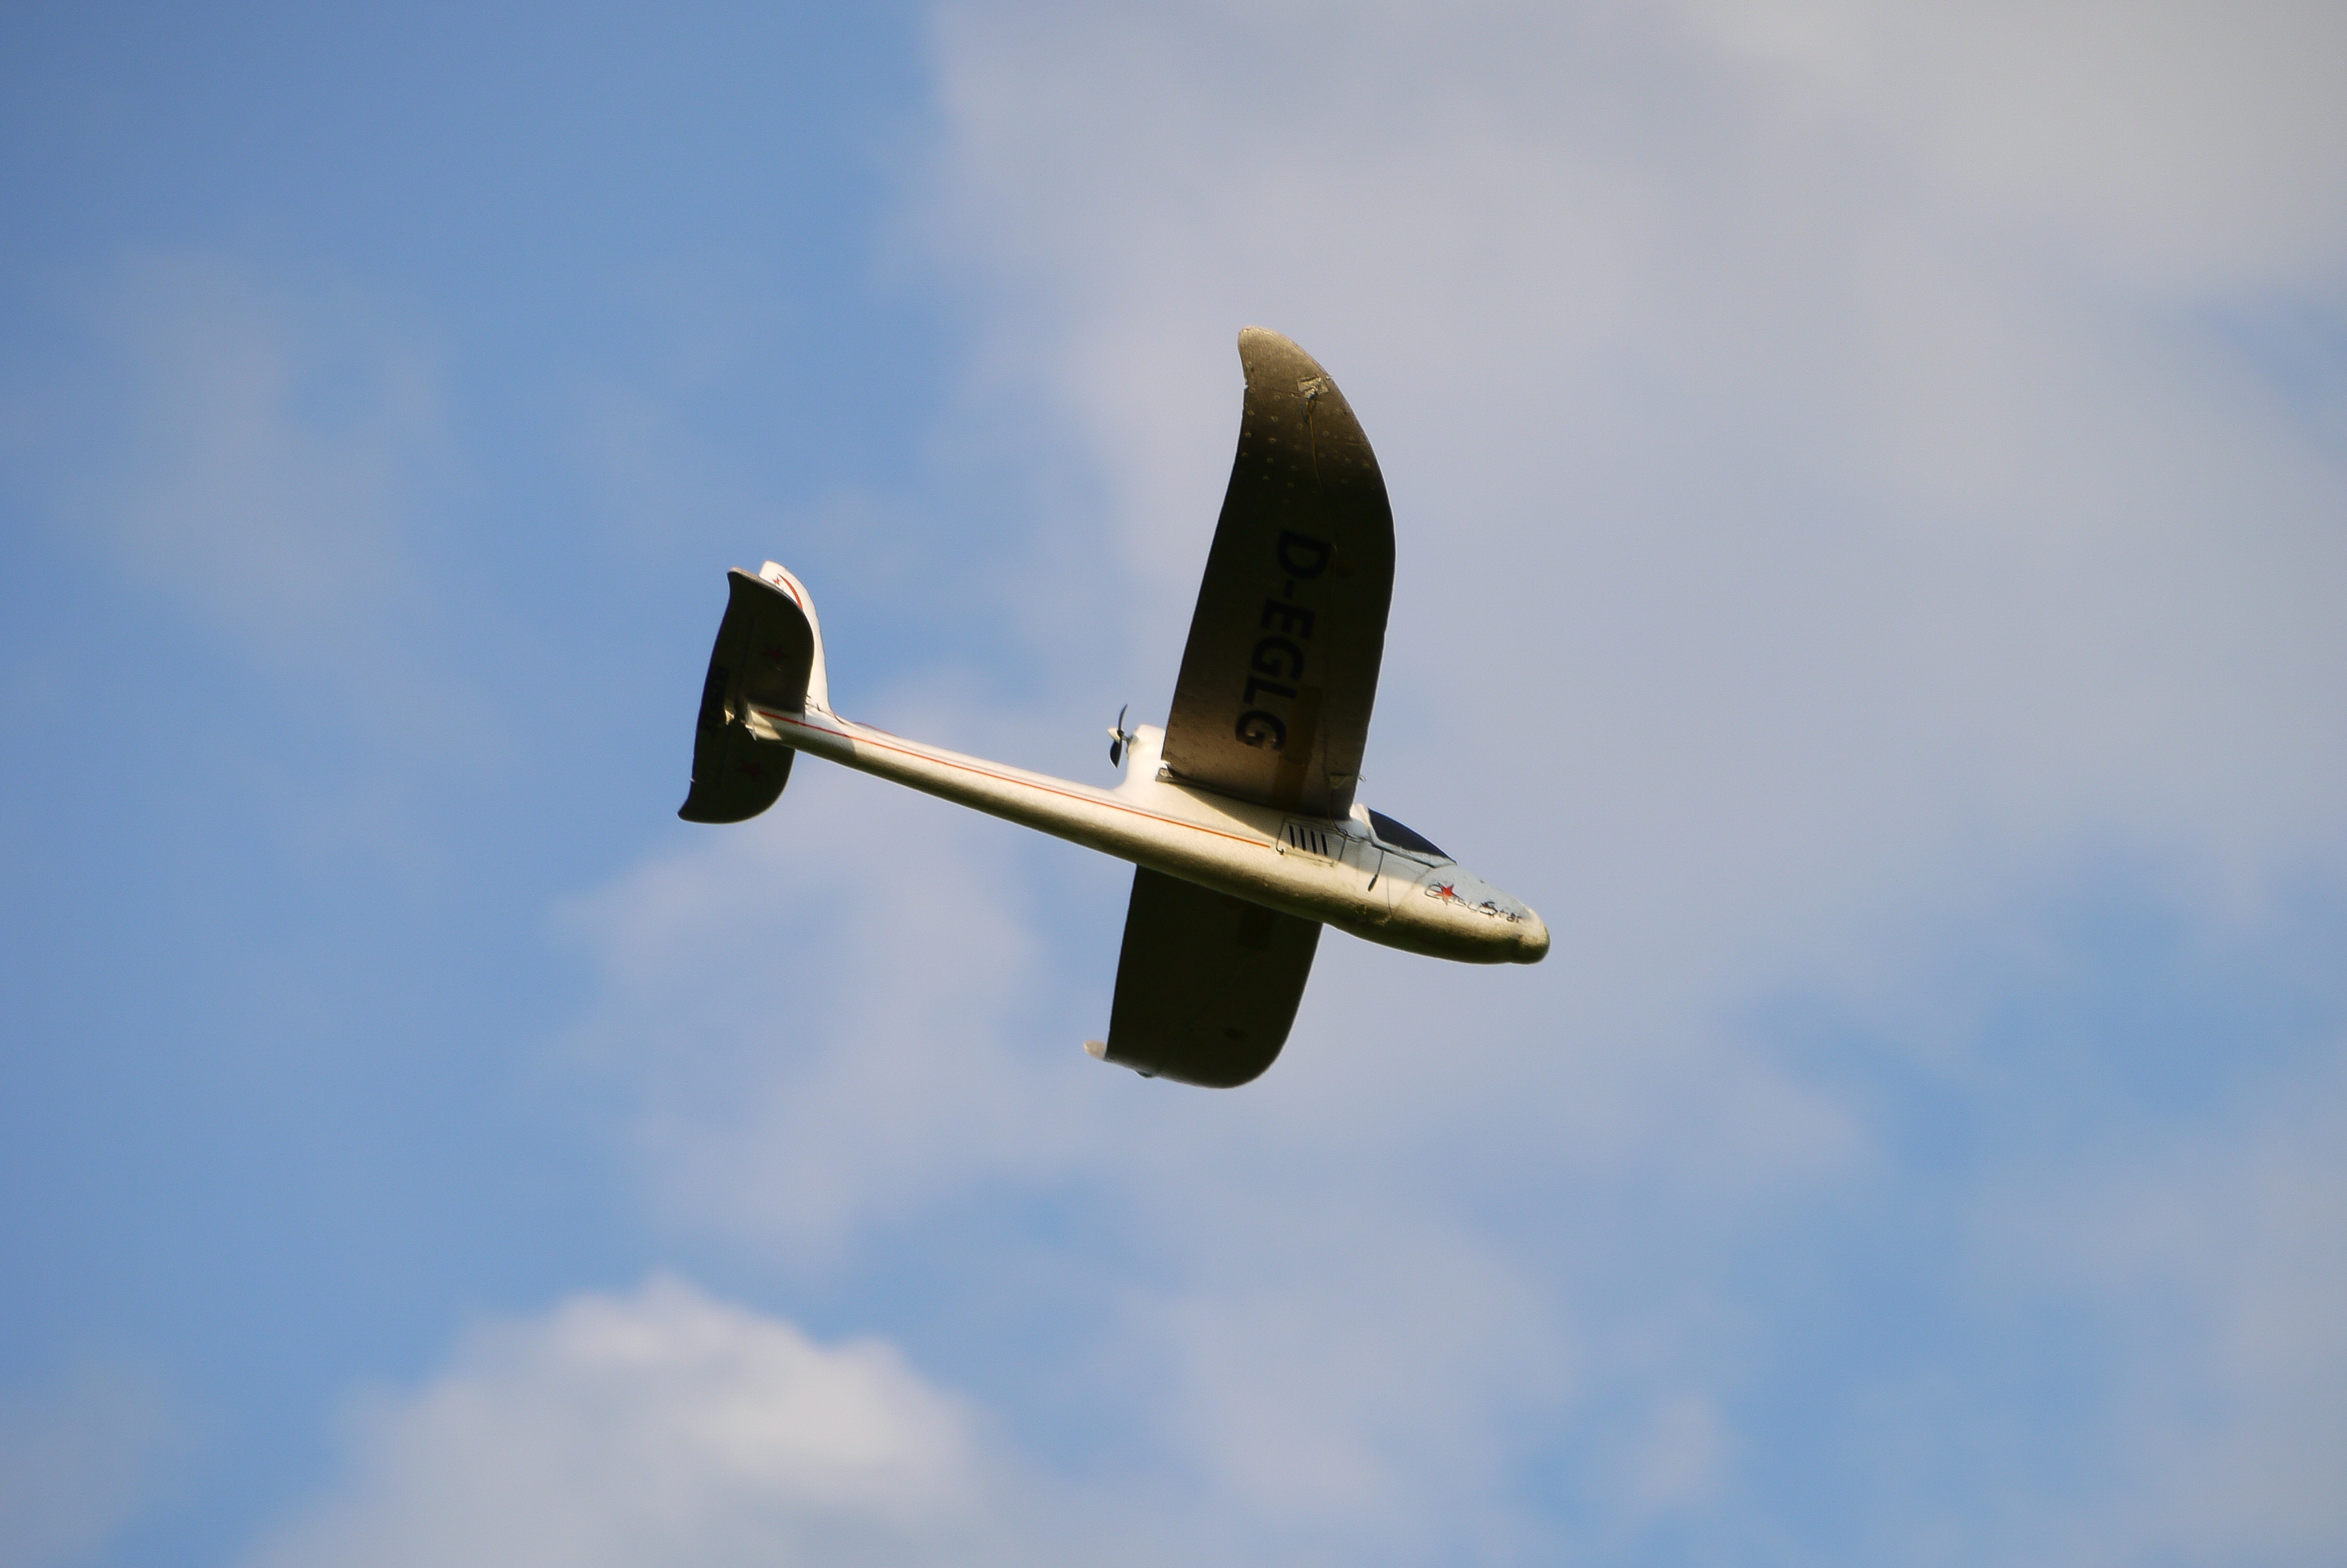
Why Start with a High-Wing Trainer
The high-wing trainer is the universally recommended choice for those starting from scratch, and it's no coincidence. When the wing is mounted above the fuselage, the model's center of gravity is below the center of lift: this creates a pendulum effect that tends to bring the plane back to a horizontal position on its own. In practice, if you get scared and release the sticks, the model straightens itself out instead of spiraling to the ground.
Added to this are other typical trainer characteristics: a marked dihedral (wings slightly angled upwards in a V-shape) which increases lateral stability, a low wing loading that allows for low flight speeds, and generous wing profiles that forgive piloting errors. Flying slowly is crucial at the beginning: it gives your brain time to process what the plane is doing and to correct before it's too late.
Electric or Glow?
For a beginner, the answer is almost always: electric. A brushless motor powered by a LiPo battery is clean, quiet, starts at the push of a button, and requires no fuel mixtures, glow plugs, or carburetor tuning. No dirty hands from fuel, no vibrations that loosen screws, no break-in period.
Glow engines (methanol-oil mixture, or gasoline for larger displacements) remain much loved for their sound, autonomy, and realism, but they add a mechanical learning curve that compounds the flying one. They make sense later on, on large models or when the passion for the engine part becomes part of the fun. For learning to fly, electric removes variables and lets you focus only on the sticks.
The Acronyms: RTF, PNP, ARF, BNF
When you look at model specifications, you'll encounter four acronyms that describe what's in the box. Understanding them prevents wrong purchases and unpleasant surprises:
- RTF (Ready To Fly): ready to fly. Includes plane, radio, motor, ESC, servos, and often even the battery and charger. It's the simplest solution for those starting from scratch and wanting an "all-inclusive" kit.
- BNF (Bind aNd Fly): complete with electronics and receiver, but without a remote control. You "bind" (associate) it with a radio you already own. Great if you already have a compatible transmitter.
- PNP (Plug aNd Play): comes with motor, ESC, and servos, but lacks a receiver, radio, and battery. You need to add and connect these components.
- ARF (Almost Ready to Fly): almost ready, but it's essentially an airframe to be completed with all the electronics and often part of the assembly. Requires skills that a beginner doesn't yet have.
For a true beginner, an RTF is ideal, or, if you already have a good radio, a BNF. ARF and PNP are excellent for your second model, when you'll know what you're connecting.

Materials: Foam/EPO or Balsa?
The material of the airframe influences robustness, weight, and especially ease of repair, a detail that is far from secondary when you're starting out and landings are still rough.
EPO foam (expanded polypropylene) is today the standard for modern trainers: lightweight, quite impact-resistant, flexible, and very easy to repair with some special glue. A broken wing can be re-glued in a few minutes, and you're back to flying. It's perfect for learning precisely because it forgives the inevitable "contacts" with the ground.
Balsa (wood, often covered with heat-shrink film) provides stiffer, lighter, and aesthetically more refined models, with a more "real" flight. However, it is more delicate in impacts, and repairs require more time and manual skill. It's a splendid choice for the second or third model, when landings will be smoother.
The Radio: Number of Channels and Mode
The remote control (or transmitter) is the tool you'll always use, even when changing planes: it's worth choosing it well. The first thing to look at is the number of channels, i.e., how many independent commands it can handle. A basic trainer uses four: throttle, ailerons, elevator, and rudder. Some very simple trainers even fly with three channels. It's still advisable to start with at least a 6-channel radio: it costs little more and will accompany you through subsequent models without having to buy a new one.
Then there's the mode, which is how functions are assigned to the two sticks. In Mode 2, the most widespread standard in Europe and worldwide, the left stick controls throttle and rudder, the right stick controls elevator and ailerons. This is the recommended configuration, also because all tutorials and instructors take it for granted. Make sure the radio can be configured in Mode 2 and set it up that way from the beginning.
Brushless Motor and LiPo: The Basics
On modern electric models, the motor is brushless: efficient, powerful, and almost maintenance-free. It receives current from an electronic speed controller (ESC), which translates the throttle stick position into motor RPM. On an RTF, these components are already sized and matched: you don't have to worry about calculations.
Power comes from a LiPo (lithium-polymer) battery, indicated by acronyms like 3S (number of cells in series, here three, about 11.1 V) and a capacity in mAh that determines flight time. LiPos offer a lot of energy in little weight, but they must be treated with respect: never discharge them below the minimum threshold (in flight you'll notice it from the drop in thrust, land immediately), charge them only with a suitable balanced charger, and store them in a fireproof container at storage charge. These are simple rules that prevent serious problems.
The First Flight: Center of Gravity, Balancing, and Trim
Even before starting the motor, there's a check you can't skip: the center of gravity (CG). This is the point, indicated in the instructions at a certain distance from the leading edge of the wing, where the model must be balanced. Rest the plane on two fingers at that point: if it pitches too far forward or back, move the battery until it remains horizontal or slightly nose-down. A center of gravity that is too far back makes the plane nervous and uncontrollable; it's the number one cause of crashes on the first flight.
Once in the air, trim comes into play: small levers or buttons on the radio that correct the model's residual tendencies. If the plane, with the sticks centered, tends to climb, descend, or turn, adjust the trims in small steps until it flies straight and level with "still" hands. Always fly with plenty of altitude: height gives you time to react. And if you have the opportunity, get help from an experienced pilot for your first flight, perhaps with a buddy box cable that allows them to take control instantly.
Typical Beginner Mistakes
Recognizing common pitfalls in advance will save you models and frustration:
- Choosing a model that is too fast or acrobatic as your first plane: warbirds and jets are for later.
- Ignoring the center of gravity or setting it too far back: a few millimeters make the difference between a docile flight and a crash.
- Flying too low: without altitude, you have no margin to correct a mistake.
- Flying in strong winds: light trainers are at the mercy of gusts. Choose calm days and a wide, obstacle-free field.
- Over-controlling the sticks: commands should be given small and progressively, not abruptly.
- Neglecting LiPos: excessive discharges and incorrect charges ruin them and create risks.
- Skipping the pre-flight check: always verify the correct direction of all controls on the ground before takeoff.
With a high-wing electric trainer, a Mode 2 radio, the correct center of gravity, and a little patience in the first sessions, learning to fly becomes a rewarding experience and not a series of breakages. The first airplane doesn't have to impress anyone: it just has to teach you how to fly. When you have the controls in your fingers, the model of your dreams will be waiting for you, and you'll finally know how to pilot it.